 |
|
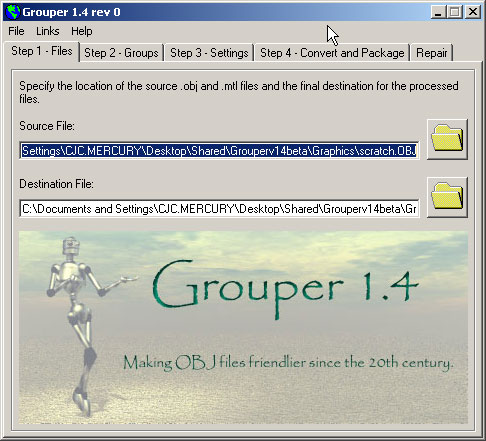
Process the model with GrouperI've saved the .OBJ and .MTL files in a convenient location, now I'm ready to get started with Grouper. On the first tab, I'll click on the folder icon next to Source file and locate the file. When I select a file, Grouper will suggest a destination filename.
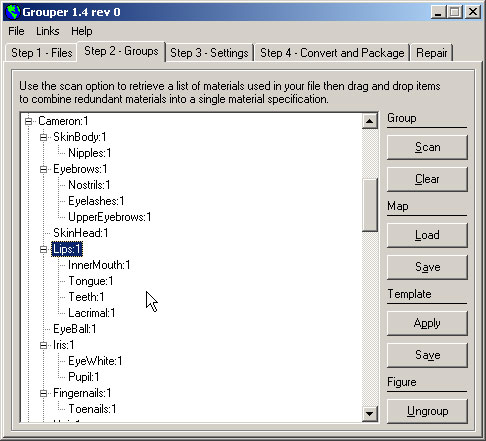
Grouping MaterialsOn the second tab I'll use the Scan option to retrieve a list of materials that are referenced in the .OBJ file. At this point I could process the file and Grouper would examine each facet and organize it with all the other facets that use the same material. However, I can simplify the object even more. Back in Poser I noticed something about the materials. Several of the materials defined in Poser use exactly the same texture, bump and/or transparency maps. For example, the materials for the Lips, InnerMouth, Tongue, Teeth and Lacrimal are all the same. I can drag and drop those into a single Lips material to group all those facets into a single object. Actually I'm telling Grouper that any facet that uses the Lips, InnerMouth, Tongue, Teeth and Lacrimal should be grouped into a single object called Lips.
You probably noticed that the SkinHead, Iris, EyeWhite and Pupil materials also use the same texture and bump maps as the Lips material. I kept them separate for a reason. If I think I might be doing a close-up in the final image, I group the materials this way so that I can easily change the eye color and use a different specularity for the Lips. If I'm not bringing the camera close, I can simplify even more.
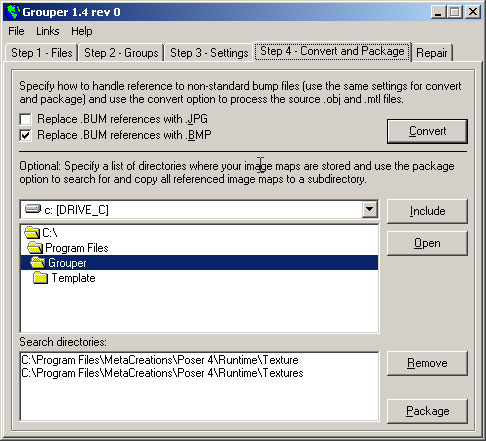
Since I've done this before it took about 10 minutes to group all of the materials the way I want them. When I'm finished I'll use the Map Save option to save these material groups in case I want to make any changes later. As you work with different models you'll learn what grouping is most convenient. I'm also going to use the Template Save option to save parts of the material group map that relate to each figure. All of my characters that use Michael 2.0 have pretty much the same grouping. Map Save is great but if I later decide to add or change the figures in the original Poser file I have to start redo the map. Templates allow me to create reusable partial maps that I can quickly apply to individual figures. Converting and PackagingI'm going to skip over the Settings tab and leave those at their defaults and move right to the Convert and Package tab and use the Convert option to create the new .OBJ file.
My .OBJ is ready but the texture and bump maps it references are still scattered through my ..\Runtime directory. I've given Grouper a list of directories to search for these files and I'll use the Package option next collect copies of those files in subdirectory of my grouped .OBJ file. I'm doing this to avoid all those missing file dialogs Bryce gives when you import. Different applications handle directories differently. Because some people use Grouper with applications other than Poser and Bryce, Grouper doesn't change the location it was given in the .MTL file. To make things even easier, after I package the files I'll move the converted .OBJ and .MTL files into that directory too. On to Bryce ... Questions, comments to grouper@castironflamingo.com. |


