|
|||||||||||||||
Part 3 - Texturing the Head and Body
This is where it gets interesting. To texture the figure I need to setup the shaders for the following objects:
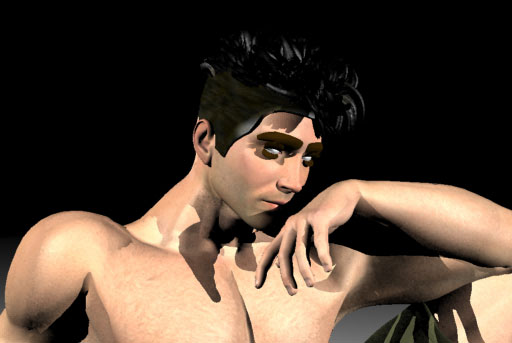
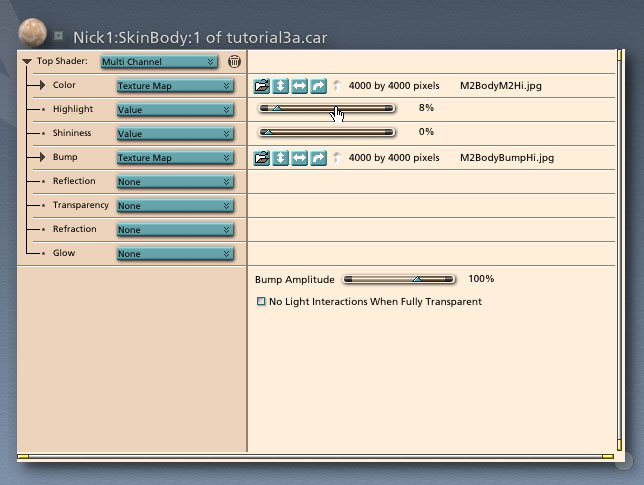
Do the big things first, start with the head and body. With those setup it'll be easier to do the smaller details like the eyes and eyelashes. In Bryce, I usually set the entire figure to the default material after I import the figure to keep from getting distracted by materials that didn't import quite right. It also makes it easy to see if I've missed something. The Basic Head and BodyThe Fingernails shader will be almost exactly the same as the SkinBody shader except it will have different specularity settings. The same goes for the Lips and SkinHead shaders so I'll setup the SkinBody and SkinHead shaders first then use those to create the Fingernails and Lips shaders. I'm not going to be using the Reflection, Transparency, Refraction or Glow channels so I set them to none or a value of zero. The color and bump maps are already set correctly so there's just the specularity issue to deal with. Assigning Specularity ValuesIf you don't have a good understanding of specularity and just zero the channel, your figure is absolutely guaranteed to end up looking dry and flat. Nobody is completely dry so even on the SkinBody and SkinHead shaders I'm going to use some specularity. It's a tricky setting so you need to experiment a little. Try changing the preview to a sphere so you don't get distracted by the shape of the object. In Carrara the Highlight channel sets the intensity and color of the specular effect leaving the Shininess channel to set the size. For the SkinBody and SkinHead objects I'm going to keep the Highlight channel between 5 and 10% and set the Shininess channel to zero to bring up some subtle highlights. I'll keep the Lips around 25% and the Fingernails at around 50%.
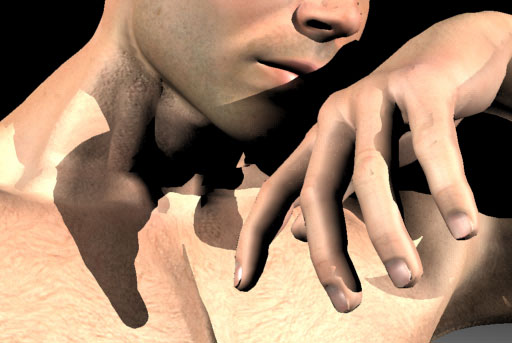
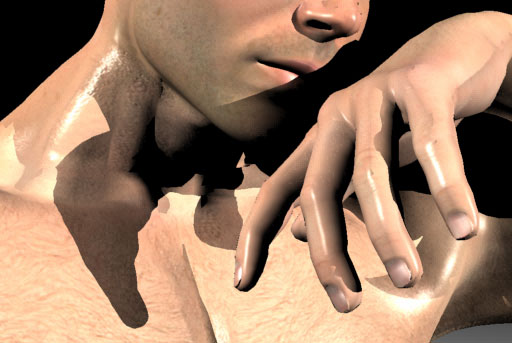
If I want the figure to look like he's just come from the gym, I can increase both the Highlight and Shininess channels. If he just stepped out of the pool instead I'd reduce the strength of the bump map to get away from the appearance of sweat and body oil.
The SkinBody, SkinHead, Lips and Fingernails shaders are all going to look something like this.
Copyright © 2002 - CJC, all rights reserved |