|
Part 5 - Texturing the Eyes
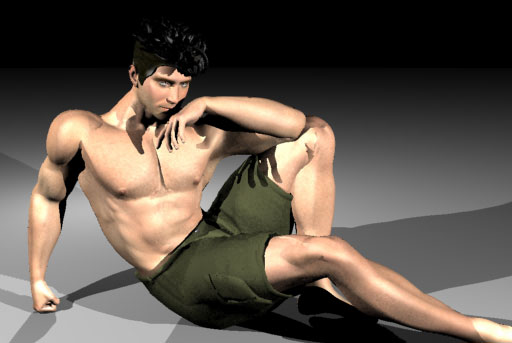
Every once in a while it's good to step back and take a look at your overall progress. Especially when you've been working on close views. There are two parts to the eyes as we've grouped them; Eyeball and Iris. Again, if you're finished render isn't going to be a close-up you can save time by just deleting the Eyeball. Since a real eyeball is mostly water, a water or moderate glass shader will work pretty well here.
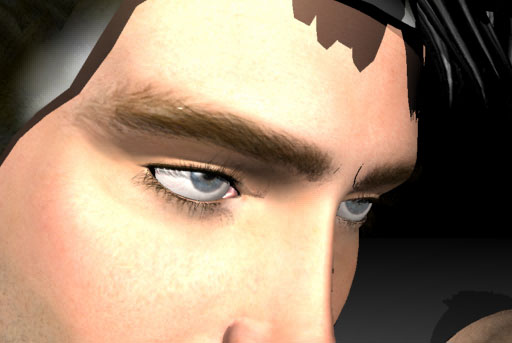
For this one, the shader created when the figure was loaded is way off. Don't panic when you apply this shader to the eyeballs because you're going to go from "Night of the Living Dead" look to the totally evil demonic look. We'll fix that in a minute but let's just cleanup the Iris shader first. Set all the channels to none or a value of zero except for the Color channel. I'm doing this because the Eyeballs shader is already giving me all the specular and reflective effects I need. All I want from the Iris is the color.
The same thing that happened to the eyebrows is happening with the eyes. In most Poser figures the eyeball object intersects the eyewhite object and will render black in Carrara. This time, I'm going to jog the Iris object in the negative X and Y directions. Just like we did with the Eyebrows, just in the opposite direction.
I adjusted the key light a little to show the specularity and reflection of the eyeballs and backed the fill light off a bit. Copyright © 2002 - CJC, all rights reserved |