|
|||||||||||||||||||||||||||||||||||||||||||||
Part 6 - Texturing the Hair
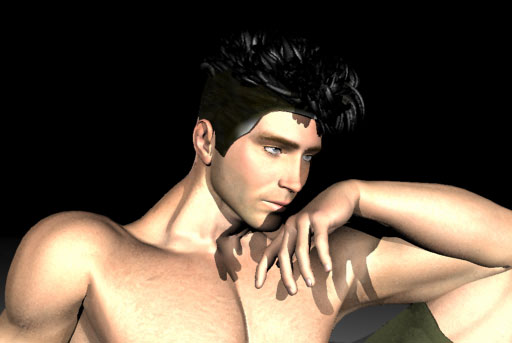
Most hair props aren't nearly as complicated as this one so this part will probably be fairly simple. Generally, I'm just going to apply the transparency recipe I used for the eyelashes to the hair. This actually looks almost passable now except for the hairline.
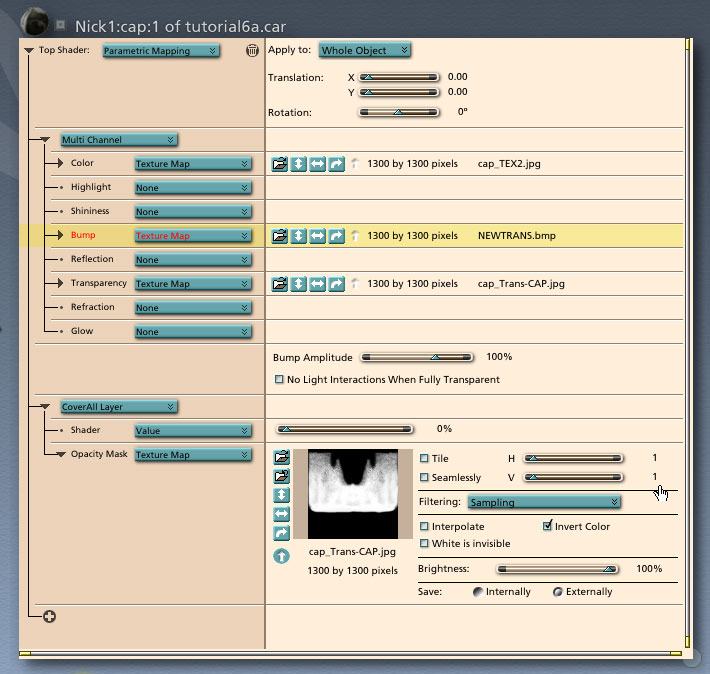
I'm going to use the material maps I wrote down in Poser as a guide. Here it is again for quick reference. Why a hair prop has a set of bump maps, I don't know. But, the Neftis person was kind enough to include them so I'll use them.
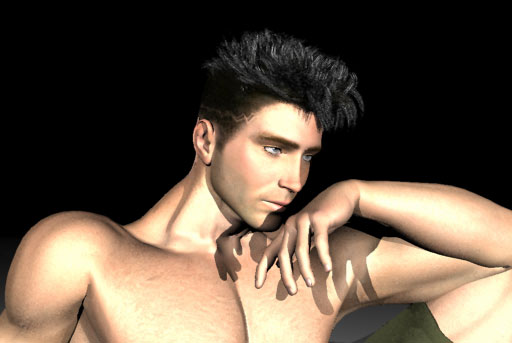
This is the result with all four shaders. Just one small artifact that's easy to fix in post. One last thing, I didn't use any specularity on any of the hair shaders. I've got a back light that would normally add the outline of the head and separate it from the black background but I'm not seeing it's effect. The trick is to get the specularity showing on the back but nowhere else. Add a small amount of specularity to the hair shader and adjust the position of the backlight. For this tutorial image I'm not going to worry about it.
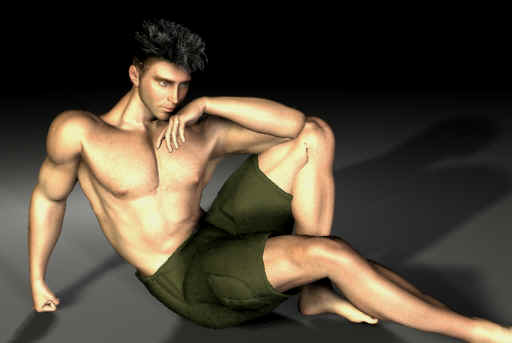
The whole process only takes about 10 or 15 minutes once you get the hang of it. Here's the finished product, no post. Questions, comments, let me know at toad@castironflamingo.com. Copyright © 2002 - CJC, all rights reserved |