|
When you import a Michael into Bryce from a Wavefront OBJ file all transparency map information is lost. You have two options, either select the objects and set their Hidden attribute (or delete them entirely) or create a new material to map the objects correctly. The first option is ok if your scene doesn't include a close-up view but taking a few minutes to map these objects can enhance the realism of your finished image. In this tutorial we'll concentrate on mapping Michael's eyebrows and eyelashes. Selecting ObjectsIf you imported directly from Poser, you'll have to figure out which objects to select. If you post-processed the file with Grouper you'll find that it added descriptive names. If you use the Mac platform and can't use Grouper, you'll have to fish around to get the proper objects selected.
Once you've got the objects selected, group and name them to make it easier to select them later. The material selection palette in Bryce can be a real time saver for this part. Setting Up Transparency MaterialsOnce you've got the objects selected, open the Materials Lab and make the following changes:
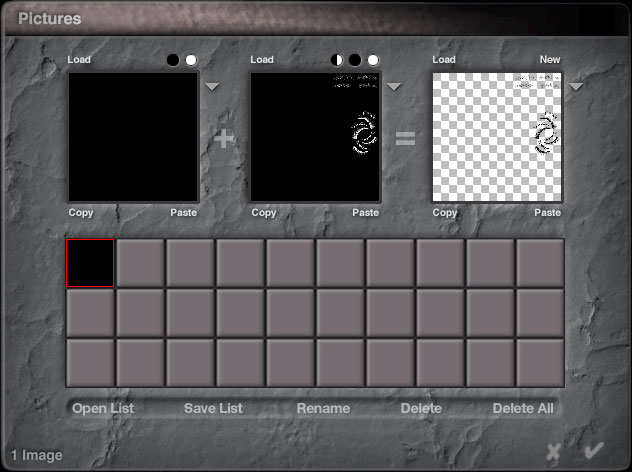
When you've finished, click on the pink dot above the P to open the picture room.
In the Picture Room, make these changes.
You should see something like this when you're finished. Click on the check mark to close the Picture Room and again on the checkmark to close the Materials Lab.
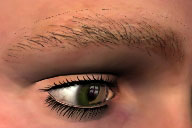
Adjusting Transparency MapsWith the material setup, you're ready to try a test render. If the result isn't what you expected, there are two parameters you may want to change.
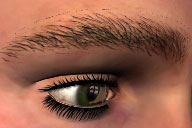
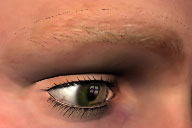
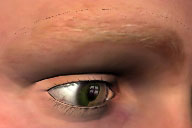
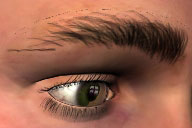
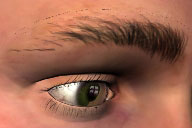
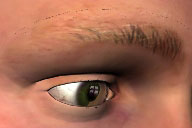
You can see the effect of changing the Transparency value below. Zygote's Map
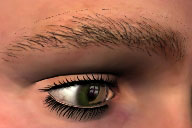
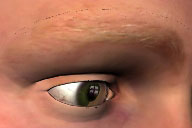
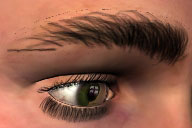
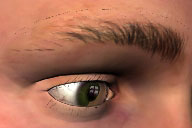
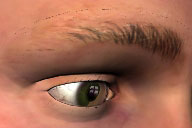
Kim's Map (The Karmic Newt)
Notice that in the two maps the relative strength of the eyebrows and eyelashes is different. If you don't like the balance between the two simply create two materials and adjust the Transparency values independently. Copyright © 2000 - CJC, all rights reserved |
||||||||||||||||||||||||||||||||||||||||